How to Control Camera Direction in AI Video: Shot-by-Shot Prompting Guide
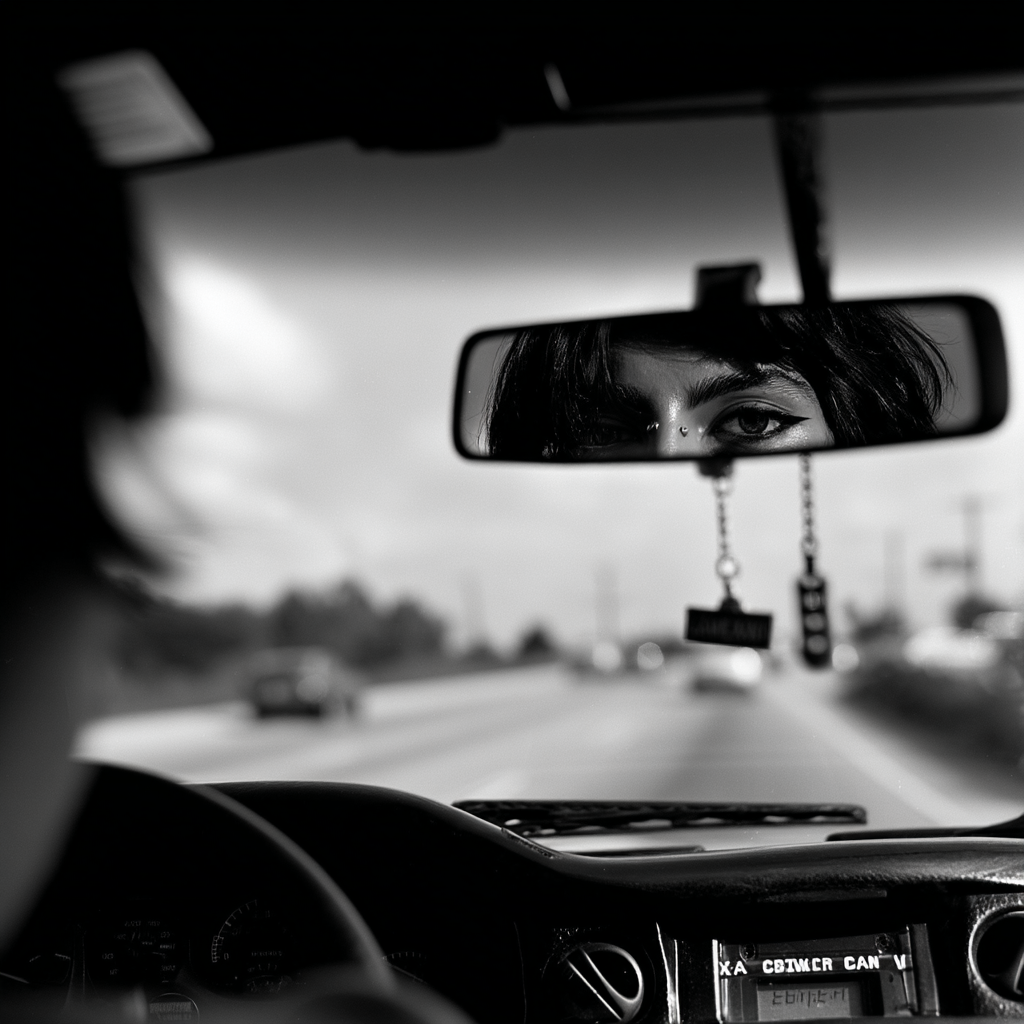
Every great AI video starts with a single decision: where is the camera?
If you've been generating AI videos and the results feel random or inconsistent, there's one technique that will instantly level up your output: controlling the camera direction in every shot.
In this guide, we'll show you exactly how to craft multi-shot scenes using precise camera prompts — and give you ready-to-copy prompts you can use right now.
Why Camera Direction Matters
Most AI video generators interpret your prompt literally. If you write "a woman smiles," you might get a zooming shot, a pan, or a static frame — it's unpredictable.
The fix is simple: tell the AI exactly what the camera is doing.
Adding phrases like "static locked camera", "no zoom", and "no camera movement" gives you full control over the visual output. This is the difference between amateur and cinematic AI video.
The Shot-by-Shot Technique
The most powerful way to create AI video scenes is by breaking them into individual shots — each with its own duration, action, and camera instruction.
Here's a real example we created: a black-and-white rearview mirror scene with 3 shots, each telling a mini-story.
The 3 Prompts We Used
Each prompt follows the same structure: subject + action + camera lock + style.
Shot 1 — The Smile (3 seconds)
Shot 2 — The Lipstick (4 seconds)
Shot 3 — The Sip (3 seconds)
Notice the Pattern
Every prompt includes these camera control keywords:
Static locked camera— prevents the AI from inventing camera movesNo zoom— keeps the framing consistent across shotsNo camera movement— reinforces the locked-off lookBlack and white film grain— maintains visual style across all 3 shots
This consistency is what makes the final video feel like a real scene instead of random clips stitched together.
The Result
Here's what we got — 3 shots composited into a single continuous scene:
Notice how the image from one shot seamlessly transitions into the next — the face stays in the mirror, the lighting is consistent, and the camera never moves. That's the power of camera direction in your prompts.
Quick Reference: Camera Control Phrases
Use these in any AI video prompt to lock down your shots:
| Phrase | What It Does |
|---|---|
| Static locked camera | Prevents all camera motion |
| No zoom | Keeps focal length constant |
| No camera movement | Reinforces static framing |
| Low angle / High angle | Sets vertical camera position |
| Close-up / Medium shot / Wide shot | Controls framing distance |
| POV / First person | Puts camera at character eye level |
| Tracking shot | Camera follows the subject |
| Dolly in / Dolly out | Smooth forward/backward movement |
What's Next?
Now that you know how to control camera direction, here's how to take it further:
Train Your Own Template
If you've created a scene style you love using this technique, turn it into a reusable template on MuseBox. Our training system lets you create custom templates that anyone can use — and you earn credits every time someone generates with your template.
Generate With Our Templates
Don't want to start from scratch? Browse our 100+ ready-made templates created by the community. Pick a style, upload your photo, and generate in seconds.
Want Text-to-Image Support?
If you'd like to learn more about creating scenes like this, or want us to support a text-to-image model — reach out to our support bot on Telegram:
Follow us for more AI video techniques and tutorials: